Frame bag zip replacement
Posted: Fri Apr 17, 2020 2:58 pm
My working from home has stopped for now as I've run out of things to do so I've taken some time owing and have a day off  I'd usually go riding, but current situation aside, it's raining so I've started to get round to some of the jobs I've been putting off. The zip on my frame bag occasionally has an open section behind the puller, opening and closing again shuts it but I'm worried I'll not notice and loose something.
I'm sure some of you have more spare time at the moment, so here's a pictorial guide on changing a zip to use up a couple of minutes
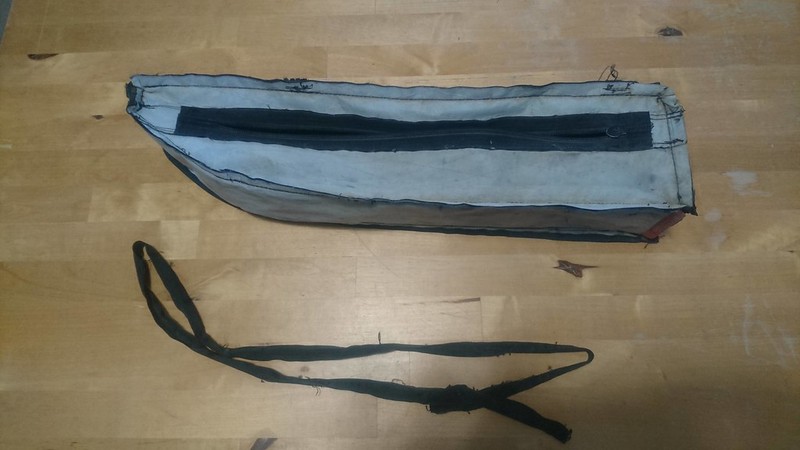
Turned inside out the binding on the edge is unpicked

And then the side can be unpicked from the bag

I then unpicked the component parts of the side of the bag
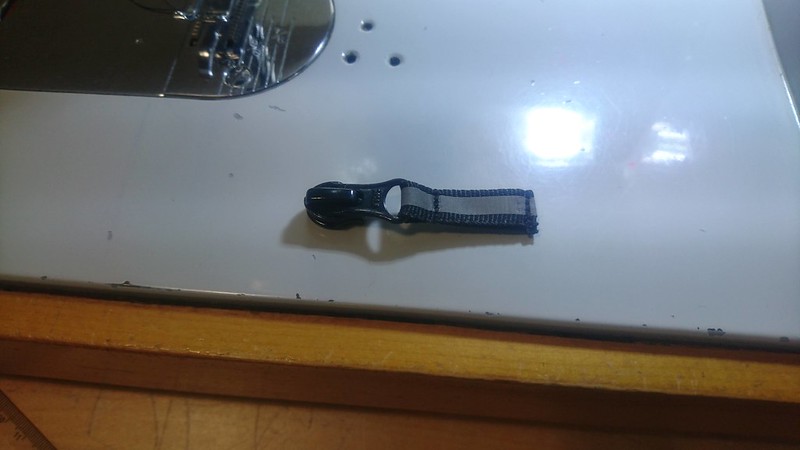
I buy my waterproof zipping by the metre with the pullers separate. I sew a length of reflective tape on the puller to make it easier to use and also I can see at a glance if it's closed, even at night as my helmet light will pick out the tape. This helps with not loosing stuff. It's much easier to sew this onto the puller before assembling the zip and much much much easier if done before sewing the zip into the project

New ykk zip assembled and cut to the same length as the removed one

The component parts of the side are sewn back together

Sew the side back into the bag
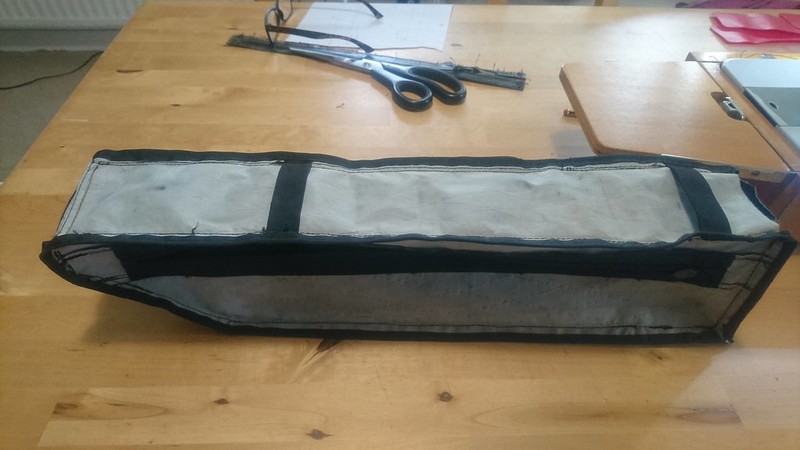
Sew edge binding back on, put stiffeners back in. The top and bottom of the bag are twin-skin and I slide pieces of thin plastic in to help the bag hold its shape. The keen eyed will also have spotted the elastic across the top panel. When the bag is the right way round these are under the top and hold the bivi poles up out of the way. I think some commercial bags have these as well.

The finished repaired bag, ready for service. I have a fine layer of dust on the table which came out of the seams when it was unpicked. This dust comprises 6000+ miles and most of the country. Hopefully the new zip will last this long or preferably longer. Now it's just a matter of waiting until it can be used in these exotic places again, although there's more #backyardbivi to come yet.
I'm sure some of you have more spare time at the moment, so here's a pictorial guide on changing a zip to use up a couple of minutes
Turned inside out the binding on the edge is unpicked
And then the side can be unpicked from the bag
I then unpicked the component parts of the side of the bag
I buy my waterproof zipping by the metre with the pullers separate. I sew a length of reflective tape on the puller to make it easier to use and also I can see at a glance if it's closed, even at night as my helmet light will pick out the tape. This helps with not loosing stuff. It's much easier to sew this onto the puller before assembling the zip and much much much easier if done before sewing the zip into the project
New ykk zip assembled and cut to the same length as the removed one
The component parts of the side are sewn back together
Sew the side back into the bag
Sew edge binding back on, put stiffeners back in. The top and bottom of the bag are twin-skin and I slide pieces of thin plastic in to help the bag hold its shape. The keen eyed will also have spotted the elastic across the top panel. When the bag is the right way round these are under the top and hold the bivi poles up out of the way. I think some commercial bags have these as well.
The finished repaired bag, ready for service. I have a fine layer of dust on the table which came out of the seams when it was unpicked. This dust comprises 6000+ miles and most of the country. Hopefully the new zip will last this long or preferably longer. Now it's just a matter of waiting until it can be used in these exotic places again, although there's more #backyardbivi to come yet.

