New Cat Cut Tarp
Posted: Wed Feb 14, 2018 3:33 pm
I don't know if anyone is interested in yet another tarp, but just in case here's my latest version. New and improved 'lightweight' for racing  Besides, I've taken the photos as I went so I could post up the process for anyone thinking of making one. My access to AutoCAD and a large format plotter at work do make it much easier though, without these marking and cutting the material would be much harder.
After drawing, measuring, making mock-ups with string etc. I finally decided on the dimension. It is 2.7m long and 2.4m wide at the front and 1.6m wide at the rear. I could of made it slightly smaller if it was just for racing but with the cost of the material and the effort of making it I thought I'd make it a generous size for all year use. After printing out the templates, which took up 5 pages of A0 paper, I joined them together to get a master for one side.
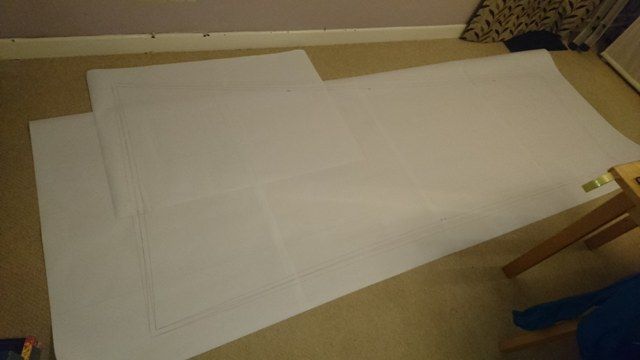
I then cut around this, the template includes the seam allowance.
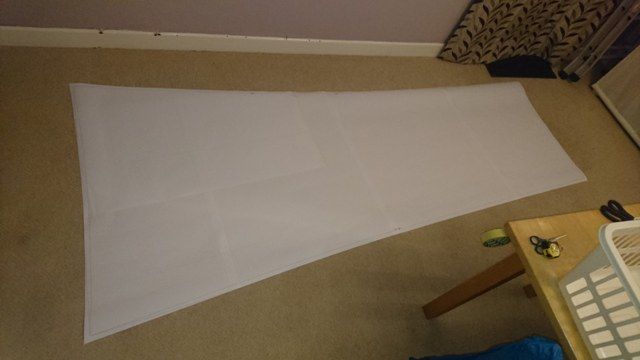
I then assembled some plastic sheet, this is similar to corrugated card but in plastic. This was actually packing on some 8x4 sheets of aluminium I had bought some years ago. As can be seen, as I've used this for other templates in the past I had to join some bits together to get a large enough piece.

Template overlaid
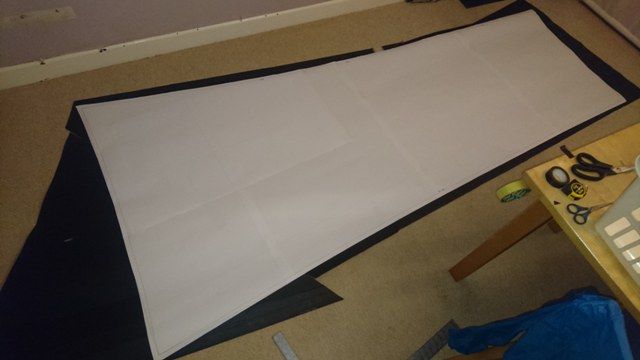
And cut to size
This is then laid on the fabric and cut out. I use a cutting board underneath and I use a wheeled cutter. I find with scissors the very light fabric moves too much to follow the line. I also clip the template to the fabric with bulldog/foldback clips to keep it aligned. I do have to move the cutting board along as I go which can be tricky not to disturbe the aliment of the fabric and template.
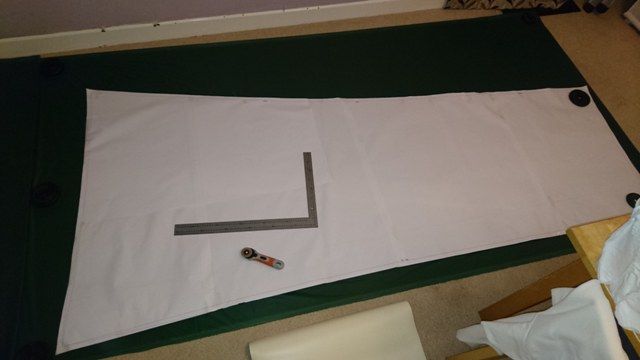
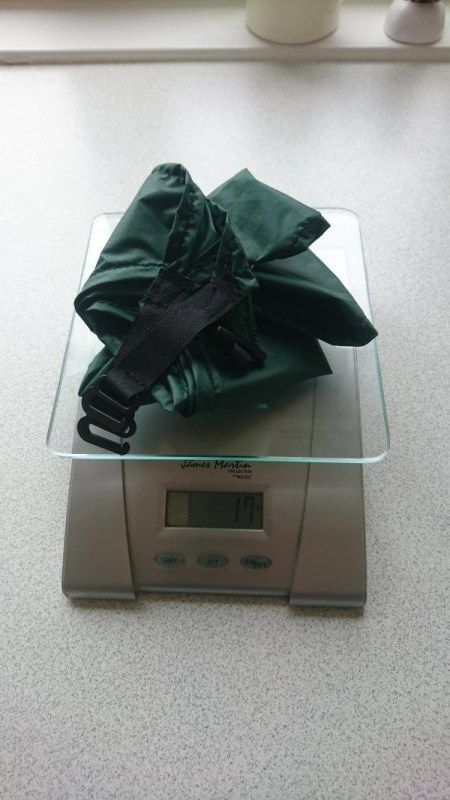
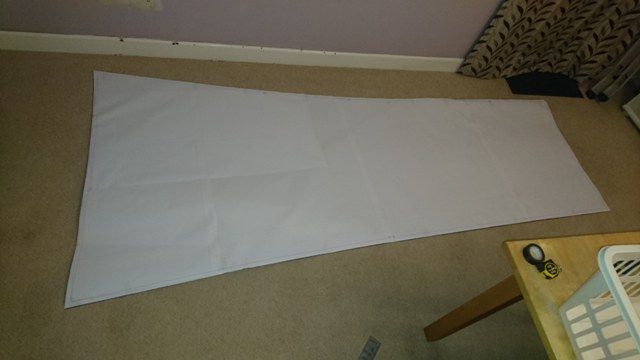
The template has a curved ridge and sides to give a tauter pitch. The material (36g/m2 silnylon) is double sided so I could just cut out 2 the same. If using a single sided material the template would need to be flipped over to get the opposite hand. Then it's simply a matter of sewing the 2 halves together In practice this is the hardest bit, the curved ridge and very light slippery material make guiding it through the machine tricky, and it has to be guided through and held taught or it puckers and it does not feed on it's own. After sewing the ridge I had a quick check on the weight so far
  this also gives some enthusiasm to keep going.
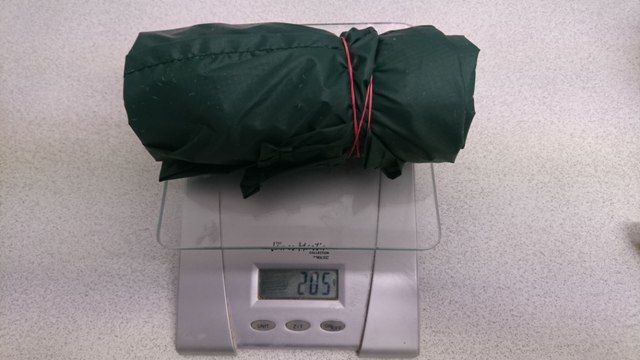
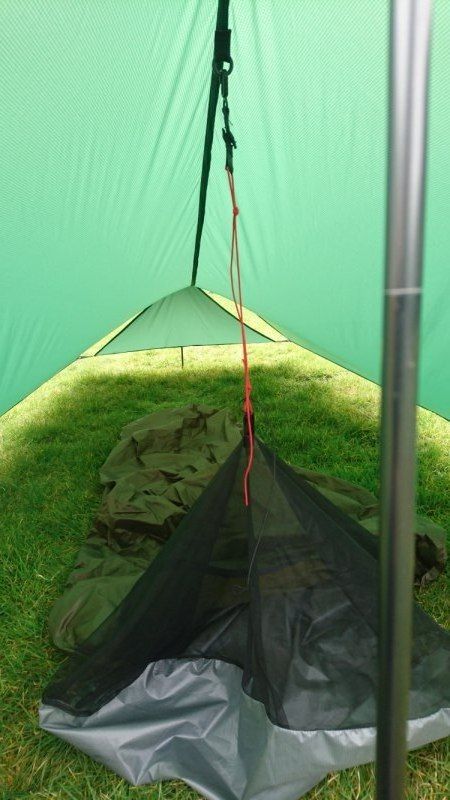
205g is not too bad considering the size. Next to add the tie-out points and hem the edges. I've used some VX21 for the reinforcements but the tie outs will be sewn to the hems so the reinforcement is mainly just at the stitching points and not to spread the load. There are also 2 little webbing loops on the underside of the ridge, set in from the ends, to hang a light from or the mesh of a bivi bag to keep it off my face.
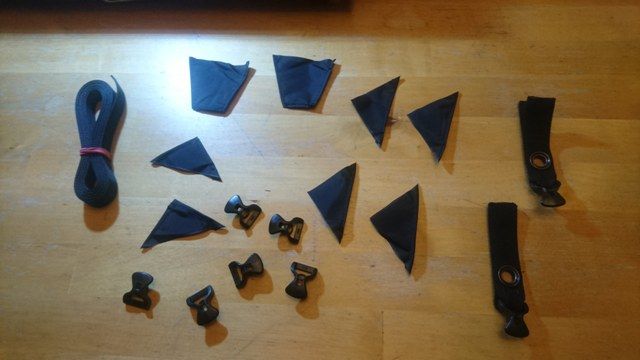
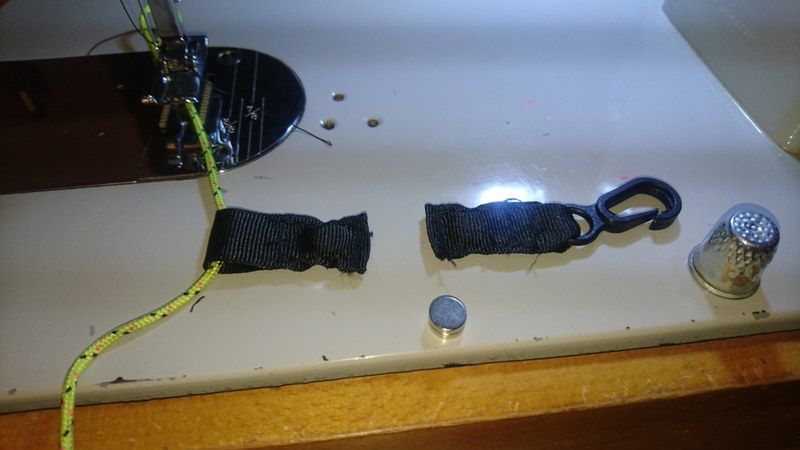
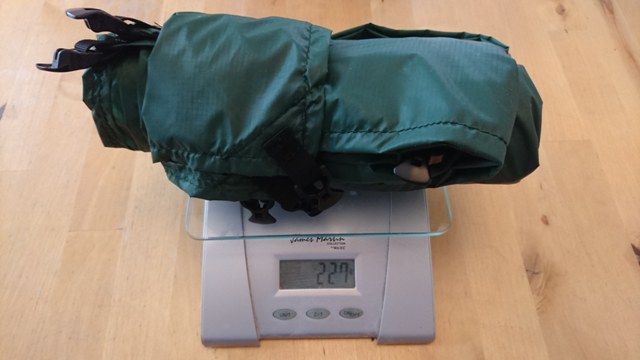
As I plan to use it in one set up with poles I have included eyelets to make pitching easier. I have also used Linelocs fixed to the tarp. These make the tensioning easy and also allow less line to be used. The main advantage is that a line can be shortened down to nothing. A normal runner on the guy only shortens the line by 50% before it runs out of travel. With these a 600mm line can be set anywhere from 600mm to about 10mm. The extra thread and the parts has taken the weight up to 227g
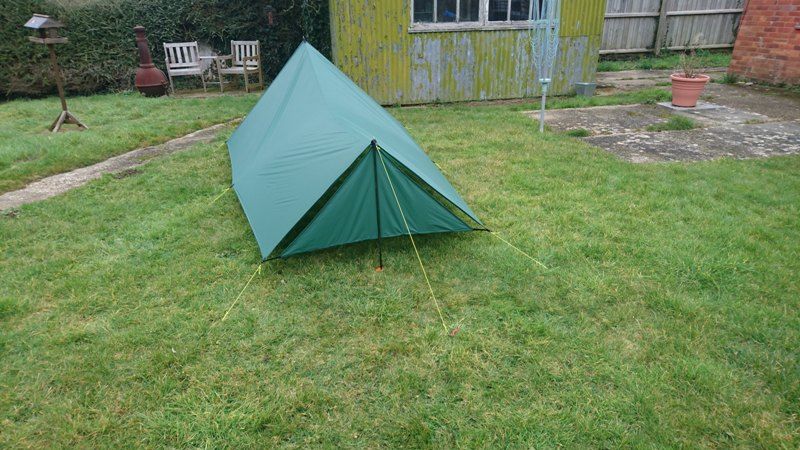
Test pitch in the garden
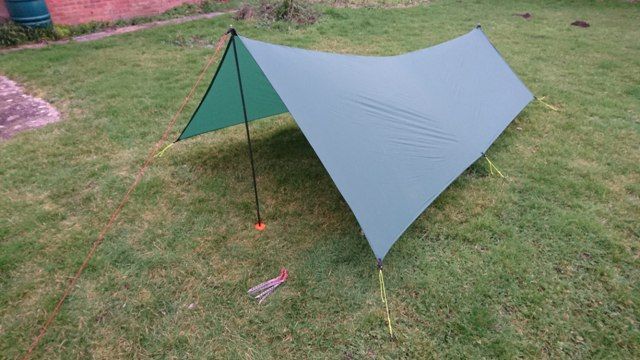
The eagle eyed will notice that the front guy is red and all the rest are yellow. When I pitch it I peg down the centre front to the ground by the pole eyelet. Then at the other end I insert the pole and peg out. As the front is fixed down this stays up. Then holding the ridge taught I un-peg the front, insert the pole and peg out. The red line will allow me to quickly find my starting point when I get it tarp out in the dark/rain/wind after hours of riding The poles are 1050mm and 700mm long and 3 and 2 sections respectively. This makes the folded length the same and does not upset my pole packing ocd.
Final thing was to make a small stuff sack, this weights 5g but some of that is the cord and mini cord-lock. 650B inner tube for size.
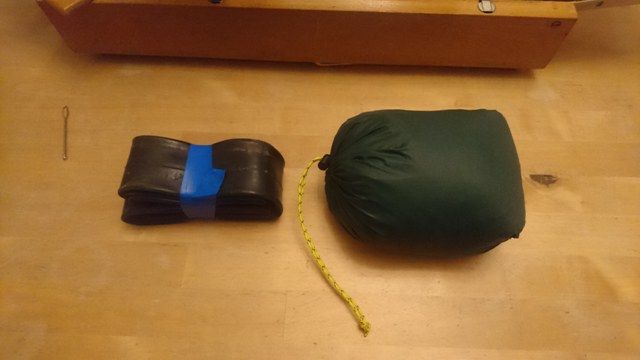
The finished article weighs 249g including the guys and stuff-sack. This seems a lot but compared to say a DD Hamock 3mx3m which weights 790g without guys it's not bad. I used 6m of fabric which cost about £55 from Extremtextil + shipping. Lighter tarps are available in Cuben, and for example a commercial 3m x 2.4 cuben tarp weighs 230g without guys. This is slightly larger but would be a flat tarp and they are about £220. Is the effort of making my silnylon version worth the cost saving? Only if you like sewing with slippery material and have several evenings to spare All that is left it to seam seal the ridge, but this needs a dry and warm day to do it in the garden, so not in the foreseeable future looking at the current weather.
After drawing, measuring, making mock-ups with string etc. I finally decided on the dimension. It is 2.7m long and 2.4m wide at the front and 1.6m wide at the rear. I could of made it slightly smaller if it was just for racing but with the cost of the material and the effort of making it I thought I'd make it a generous size for all year use. After printing out the templates, which took up 5 pages of A0 paper, I joined them together to get a master for one side.
I then cut around this, the template includes the seam allowance.
I then assembled some plastic sheet, this is similar to corrugated card but in plastic. This was actually packing on some 8x4 sheets of aluminium I had bought some years ago. As can be seen, as I've used this for other templates in the past I had to join some bits together to get a large enough piece.
Template overlaid
And cut to size
This is then laid on the fabric and cut out. I use a cutting board underneath and I use a wheeled cutter. I find with scissors the very light fabric moves too much to follow the line. I also clip the template to the fabric with bulldog/foldback clips to keep it aligned. I do have to move the cutting board along as I go which can be tricky not to disturbe the aliment of the fabric and template.
The template has a curved ridge and sides to give a tauter pitch. The material (36g/m2 silnylon) is double sided so I could just cut out 2 the same. If using a single sided material the template would need to be flipped over to get the opposite hand. Then it's simply a matter of sewing the 2 halves together
205g is not too bad considering the size. Next to add the tie-out points and hem the edges. I've used some VX21 for the reinforcements but the tie outs will be sewn to the hems so the reinforcement is mainly just at the stitching points and not to spread the load. There are also 2 little webbing loops on the underside of the ridge, set in from the ends, to hang a light from or the mesh of a bivi bag to keep it off my face.
As I plan to use it in one set up with poles I have included eyelets to make pitching easier. I have also used Linelocs fixed to the tarp. These make the tensioning easy and also allow less line to be used. The main advantage is that a line can be shortened down to nothing. A normal runner on the guy only shortens the line by 50% before it runs out of travel. With these a 600mm line can be set anywhere from 600mm to about 10mm. The extra thread and the parts has taken the weight up to 227g
Test pitch in the garden
The eagle eyed will notice that the front guy is red and all the rest are yellow. When I pitch it I peg down the centre front to the ground by the pole eyelet. Then at the other end I insert the pole and peg out. As the front is fixed down this stays up. Then holding the ridge taught I un-peg the front, insert the pole and peg out. The red line will allow me to quickly find my starting point when I get it tarp out in the dark/rain/wind after hours of riding
Final thing was to make a small stuff sack, this weights 5g but some of that is the cord and mini cord-lock. 650B inner tube for size.
The finished article weighs 249g including the guys and stuff-sack. This seems a lot but compared to say a DD Hamock 3mx3m which weights 790g without guys it's not bad. I used 6m of fabric which cost about £55 from Extremtextil + shipping. Lighter tarps are available in Cuben, and for example a commercial 3m x 2.4 cuben tarp weighs 230g without guys. This is slightly larger but would be a flat tarp and they are about £220. Is the effort of making my silnylon version worth the cost saving? Only if you like sewing with slippery material and have several evenings to spare